
Facebook lead ads do not end at an instant form. A Meta Leads campaign can send a prospect to a website, an instant form, Messenger, Instagram, WhatsApp, or a call experience, depending on account availability and setup. The destination changes the friction, context, data captured, and follow-up workload.
The wrong question is “Which destination gives the cheapest lead?” The useful question is “Which destination gives our team enough context to identify and convert a real prospect?”
What Are Lead Generation Ads on Meta?
A lead generation ad on Meta is a paid ad where the goal is to collect contact information from a potential customer. That contact information is usually a name, phone number, and email address. Sometimes it includes additional qualifying questions depending on the business type and how much friction you are willing to accept.
Meta lead ads reduce the distance between discovery and enquiry. That convenience can increase volume, but it can also capture weak intent. The destination, qualification questions, promise, and follow-up process determine whether the lead becomes commercially useful.
Meta’s lead generation campaign objective is a dedicated campaign type inside Ads Manager. When you select “Leads” as your objective, the entire campaign structure, the ad set targeting options, and the ad creative formats are all optimised by Meta’s algorithm to find people most likely to submit a form, send you a message, or call you. You are not running a general awareness campaign and hoping for leads. You are telling the algorithm exactly what you want, and it optimises accordingly.
Setting Up a Lead Gen Campaign: Step by Step Inside Ads Manager
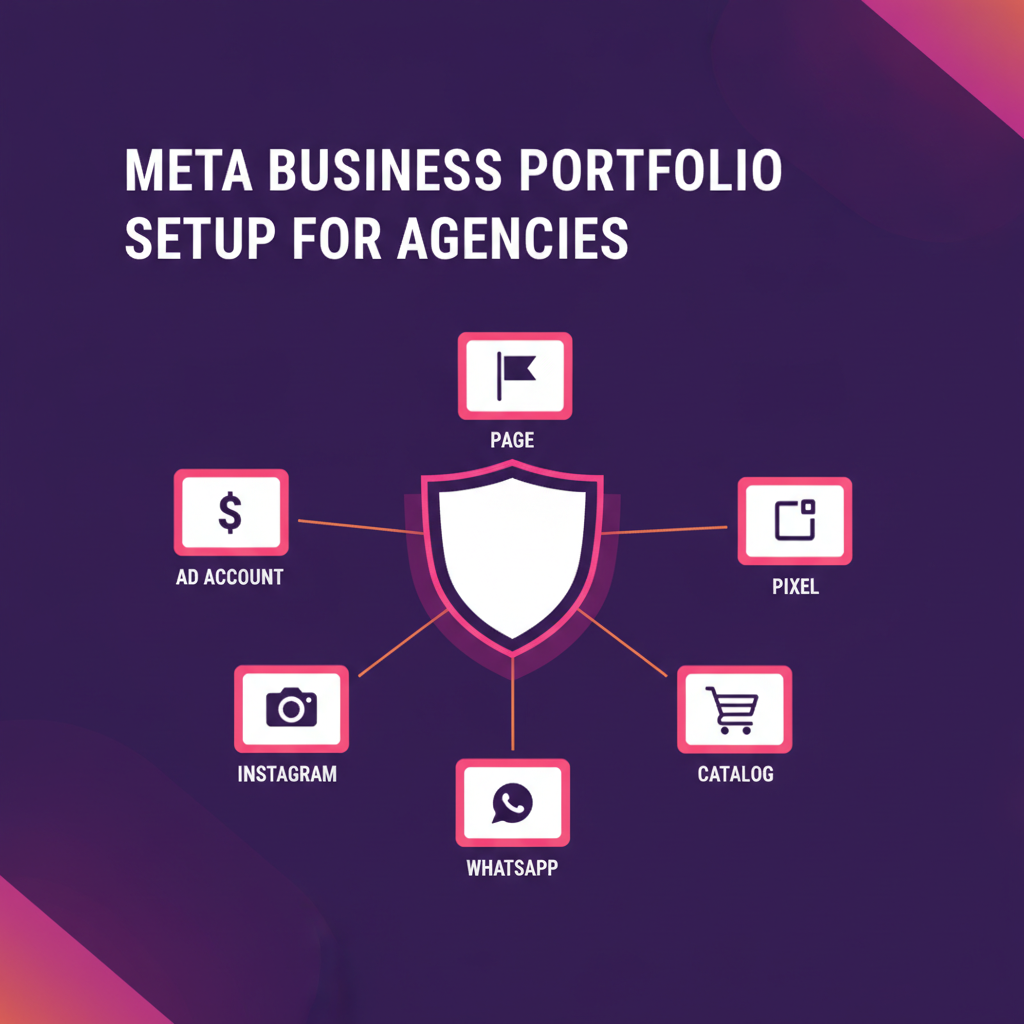
Before you touch Ads Manager, you need four things in place. This is non-negotiable. I call these the 4 prerequisites, and I drill them into every batch at Digital Scholar from day one.
- A personal Facebook profile (you need this to access everything else)
- A Facebook Page for the business
- An Instagram Business or Creator profile (linked to the Facebook Page)
- A Meta Ads Manager account with an active Ad Account
Once those are in place, here is how to set up the campaign.
Step 1: Create the Campaign
Open Ads Manager and click “Create.” When asked to choose an objective, select Leads. Under buying type, always choose Auction. Reservation is only relevant for very large brands running guaranteed reach buys, which is not what you are doing at this stage. Give your campaign a clear name. I recommend a format like: LG_ClientName_Date_Budget_Location. For example: LG_Prestige_July2026_1500daily_Chennai. This makes it easy to track 50 campaigns across multiple clients without losing your mind.
You will see options for budget strategy (campaign budget vs ad set budget) and A/B testing. Turn off A/B testing for now. You are not ready for split testing until you have baseline data. For budget strategy, select Ad Set Budget. This gives you more control at the ad set level, which is where the real targeting happens.
Step 2: Configure the Ad Set
At the ad set level, you set your destination, audience, placements, and budget. This is where most of the decision-making happens.
- Destination: Choose “Instant Forms” for most campaigns. If the client has a fast, mobile-optimised landing page with a proven form, choose “Website.”
- Audience: Define location (be specific, city-level for local businesses), age range, gender (only restrict if the product demands it), and interests. Do not over-narrow. A 100,000 to 500,000 audience size is a healthy range for most Indian city campaigns.
- Placements: Start with “Advantage+ Placements” (formerly automatic placements). Let Meta’s algorithm decide where to show the ad across Facebook, Instagram, Messenger, and Audience Network. You can manually restrict to Facebook and Instagram feeds and stories once you have enough data to see which placements perform best.
- Budget: Work backwards from acceptable qualified CPL, expected volume, and a pre-approved test loss. Avoid universal daily-budget rules.
- Schedule: Run the campaign continuously. Do not set arbitrary end dates unless the client has a hard event deadline.
Step 3: Create the Ad and the Instant Form
At the ad level, you choose the creative (image or video), write the copy, and build the instant form. Keep the ad copy short and benefit-led. One sentence hook, one sentence proof, one clear call to action. For the form, I will cover best practices in the next section because form design is where most people get it wrong.
When you create the instant form inside the ad setup, you will see two form types: More Volume and Higher Intent. More Volume keeps friction minimal and gets you more raw leads. Higher Intent adds a review screen before submission where the user has to actively confirm their details, which filters out accidental submissions. Start with More Volume for new campaigns. Switch to Higher Intent if your sales team complains that leads are not picking up calls.
The Lead Destination Fit Matrix
The Lead Destination Fit Matrix uses four inputs: required trust, qualification depth, sales-cycle length, and follow-up capacity. It reflects the central lesson in MBA Cohort 3: no destination is universally best.
| Destination | Choose it when | Main risk | Operational requirement |
|---|---|---|---|
| Instant form | The offer is easy to explain and mobile speed matters | Low-friction submissions can include weak intent | CRM delivery, clear consent, and rapid qualification |
| Website form | The prospect must see pricing, proof, inventory, or detailed eligibility | Page friction reduces volume | Fast landing page, reliable tracking, and focused copy |
| WhatsApp or Messenger | Questions and reassurance are part of the sale | Conversation backlog and inconsistent replies | Response ownership, scripts, working hours, and handoff rules |
| Instagram conversation | The business is visual and prospects already use the profile as proof | Contact details may not be captured immediately | A process to qualify and move serious leads into the CRM |
| Calls | The need is urgent or the buyer strongly prefers speaking | Missed calls waste paid demand | Staffing during delivery hours and call outcome tracking |
Measure Qualified CPL, Not the Cheapest Form Fill
Raw CPL is spend divided by submitted leads. Qualified CPL is spend divided by leads that meet your written qualification rule. Customer acquisition cost is spend divided by customers. These three numbers answer different questions.
| Metric | Formula | What it diagnoses |
|---|---|---|
| Raw CPL | Ad spend ÷ submitted leads | Media and form efficiency |
| Qualified lead rate | Qualified leads ÷ submitted leads | Traffic, promise, and form quality |
| Qualified CPL | Ad spend ÷ qualified leads | True cost of a sales opportunity |
| Lead-to-sale rate | Customers ÷ submitted leads | Offer, sales follow-up, and lead quality together |
Worked example: Campaign A spends Rs 10,000 and produces 100 leads, of which 10 qualify. Campaign B spends Rs 10,000 and produces 50 leads, of which 15 qualify. Campaign A has the cheaper raw CPL. Campaign B has the better qualified CPL. This is arithmetic, not a claimed echoVME result.
The Lead Operations Checklist
- Write the qualification rule before launch.
- Tell prospects what happens after submission and which channel will contact them.
- Send source, campaign, ad set, ad, and destination into the CRM.
- Assign every lead to a named owner.
- Track contact attempted, contacted, qualified, appointment, sale, and disqualified reason.
- Feed quality outcomes back into weekly creative and destination decisions.
Use progressive qualification
Do not ask the form to complete the entire sales conversation. Capture the minimum information needed to identify, contact, and route the prospect. Add one question only when its answer changes eligibility, ownership, or the next step. Put price context or a clear paid-offer statement in the ad or form when it prevents predictable confusion. Move sensitive or detailed questions to a conversation after trust exists.
Review disqualification reasons every week. If prospects misunderstand the offer, fix the creative. If they meet the profile but do not respond, fix the expectation and follow-up. If the team cannot contact leads during delivery hours, change the destination or staffing. Lead quality is a system outcome, not an audience-targeting problem alone.
Meta currently recommends clear expectations in messaging flows and says six questions or fewer is usually optimal for automated chat. Treat that as platform guidance, not a command to use six questions in every business. Start with only the fields needed to route and qualify, then test one added question at a time.
For the hierarchy behind the setup, read the Meta Ads campaign structure guide. For the message that earns the enquiry, use the Meta creative testing framework. For choosing Meta versus search demand, use the Meta Ads vs Google Ads comparison.